

Hello Everyone,
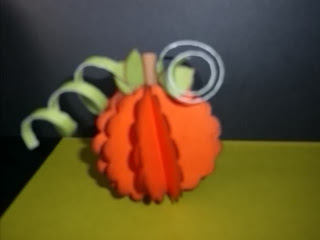
As the haunting season approaches, it's time to get ready for all the cool crafts you can make use already what you have. Today, I created 3-D pumpkins for the season of Halloween. I'm making them also in yellow, green, and if I can find purple paper as well. I'm getting ready for this Halloween season, I'm really excited, well here's my first project.
Here's what you need:
11-13 Scallops Any color you want
11-13 Scallops Any color you want
Sponge
Ink (light browns or green work well)
1in. strip of brown or black (for stem)
Q-tip
Q-tip
1in. strip of green (for curlies)
3 mini leaves (sponge, optional)
Step 1: Punch out all your scallops and ink (optional) one side only of all the scallops, leaves, strip for curlies. Cut in half, strip for curlies.
Step 2: Fold in half all scallops (recommend scoring then in half & creasing them with bone folder for precision)
Step 3: After you score and fold, make sure ink side is on the inside fold. Tape & stack until you're finished.
Step 4: Take the Q-tip and roll the 1in. strip for the stem, tape inside pumpkin.
Step 5: Take Q-tip and roll the curlies, glue inside pumpkin. Glue leaves.
Step 6, just for FYI: You can make the scallops as big as you want, the more scallops the fuller the pumpkin becomes. You can also make them using ovals, ruffled squares, circles.
Thanks so much for the idea! I found this idea off another blogger, to check out her work http://www.blogger.com/tinkerin-in-ink.blogspot.com/2007/10/scallop-punch-pumpkin-tutorial.html.
No comments:
Post a Comment
Thanx for sharing the love!